


Resume

Experiment
Bait-ul-Afifa: Applying Design Thinking to a DIY Play Space
Designed and built a cozy cardboard playhouse for my 4-year-old using recycled materials, paired with a smart routine system and future IoT planning.
The Context & The Problem
[Visual: A photo of Afifa looking bored or playing in a cluttered way.]
The User
Afifa, my daughter—a hi\ghly energetic and imaginative 4-year-old.
The Story
We recently moved from the village to Dhaka. Our current apartment has two bedrooms, a drawing room, and a dining space. Since I work from home one or two days a week and need a quiet space for deep work, I claimed one of the bedrooms to set up my studio and lab. That is exactly where the problem started.
[Visual: Image of her playing in the studio]
The Problem
Afifa was constantly moving her toys between my studio, the other bedroom, and the drawing room. Since the drawing room is an open area, I noticed she never felt fully settled or comfortable playing there. After observing her, I realized she needed a dedicated, private "dream house" to foster her imagination. The catch? It had to fit into our shared, multi-purpose drawing room without being a permanent disruption.
User Pain Points
Lack of Personal Space: She had no clear boundaries to call her own for imaginative play.
Overstimulation
The open drawing room was too exposed and distracting.
Inconsistent Routine
Constantly shifting her play area from room to room made it hard for her to settle down.
The Goal
Design and build a safe, cozy, and interactive personal space for her on a very low budget—and as a bonus, give her a place to draw so she stops drawing on the apartment walls!
The Challenge & Constraints
Our landlord has strict rules against drilling into the walls. Because of this, building a permanent partition or hanging anything heavy was out of the question. Whatever I built had to be completely freestanding and non-destructive.
Research & Design Process
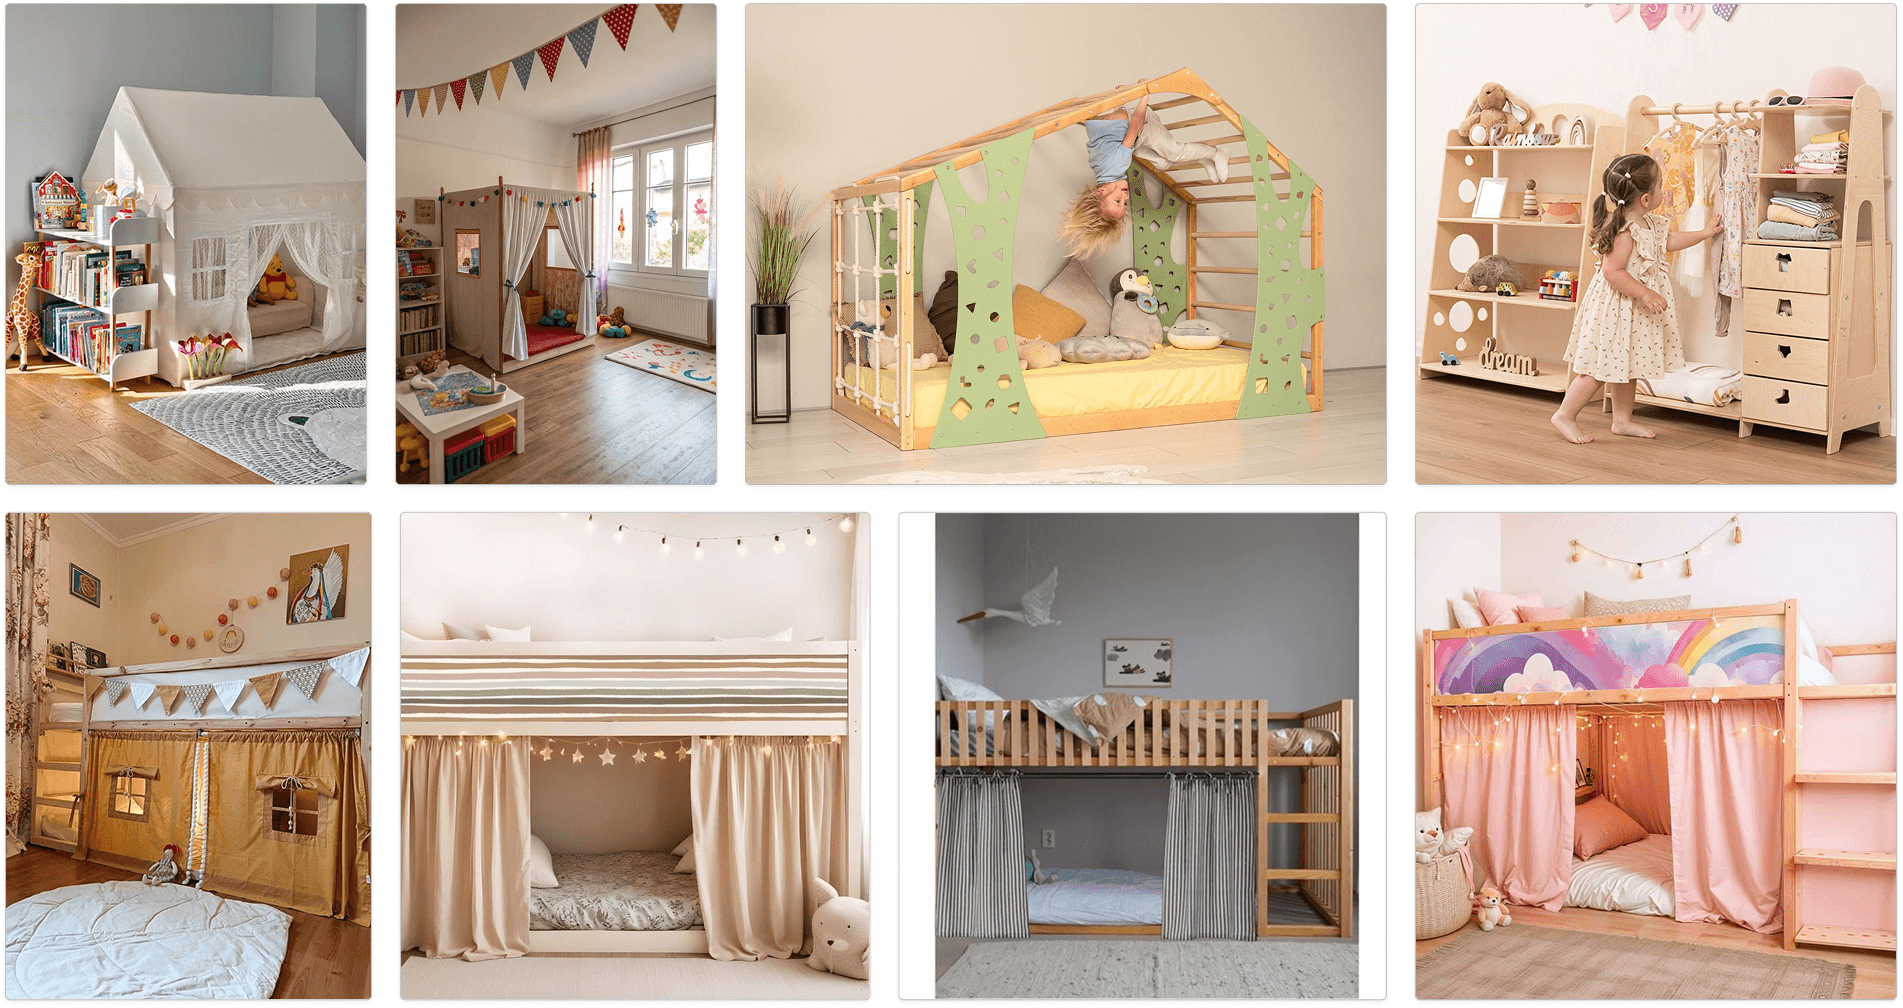
I approached this just like any digital product. I started by building a mood board of "house inside a house" setups. While they looked amazing, they were way too expensive to build.
Inspiration
A warm, comforting, and softly lit space. I decided to use fairy lights to create that cozy, magical feeling.
The Pivot
My initial plan was to build the walls out of fabric. However, that quickly failed the budget test. More importantly, hanging the cloth would require drilling into the ceiling or walls, which broke the landlord's rules.
The "Aha" Moment
Then I noticed the massive cardboard box from a refrigerator we recently bought. It was free, sturdy, and completely freestanding. It was the perfect MVP material.
Digital Prototyping
I locked in the plan for Version 1. But before cutting anything physical, I designed the entire structure digitally—treating the cardboard as my primary "material" and the drawing room corner as the "environment."
Constraints & Budget
[Visual: A flat-lay photo or a neat infographic of the tools and raw materials—cardboard, tape, utility knife, fairy lights, and pipe.]
Every good product design deals with limitations, and this DIY build was no different. I had to balance the physical space with a strict budget.
Spatial Constraint
The structure had to fit perfectly into a specific corner of the drawing room without blocking the flow of the house or feeling too bulky.
Material Constraint
I focused on upcycling existing materials. This kept the project eco-friendly and made the walls incredibly easy to modify or cut into later.
The Budget
I wanted to build a highly cost-effective MVP (Minimum Viable Product) that delivered maximum value for money. Here is the breakdown:
Resources | Cost |
|---|---|
Cardboard | ৳0 (Reused fridge packaging) |
Tape & Craft Supplies | ৳70 |
Fairy Lights: | ৳230 |
Color Art Board Paper | ৳180 |
Paper Glue | ৳160 |
Support Pipe: | ৳300 |
Total Cost | ৳940 |
The Process
[Visual: 2-3 "Work in Progress" shots. Measuring, cutting the cardboard, and taping the joints.]
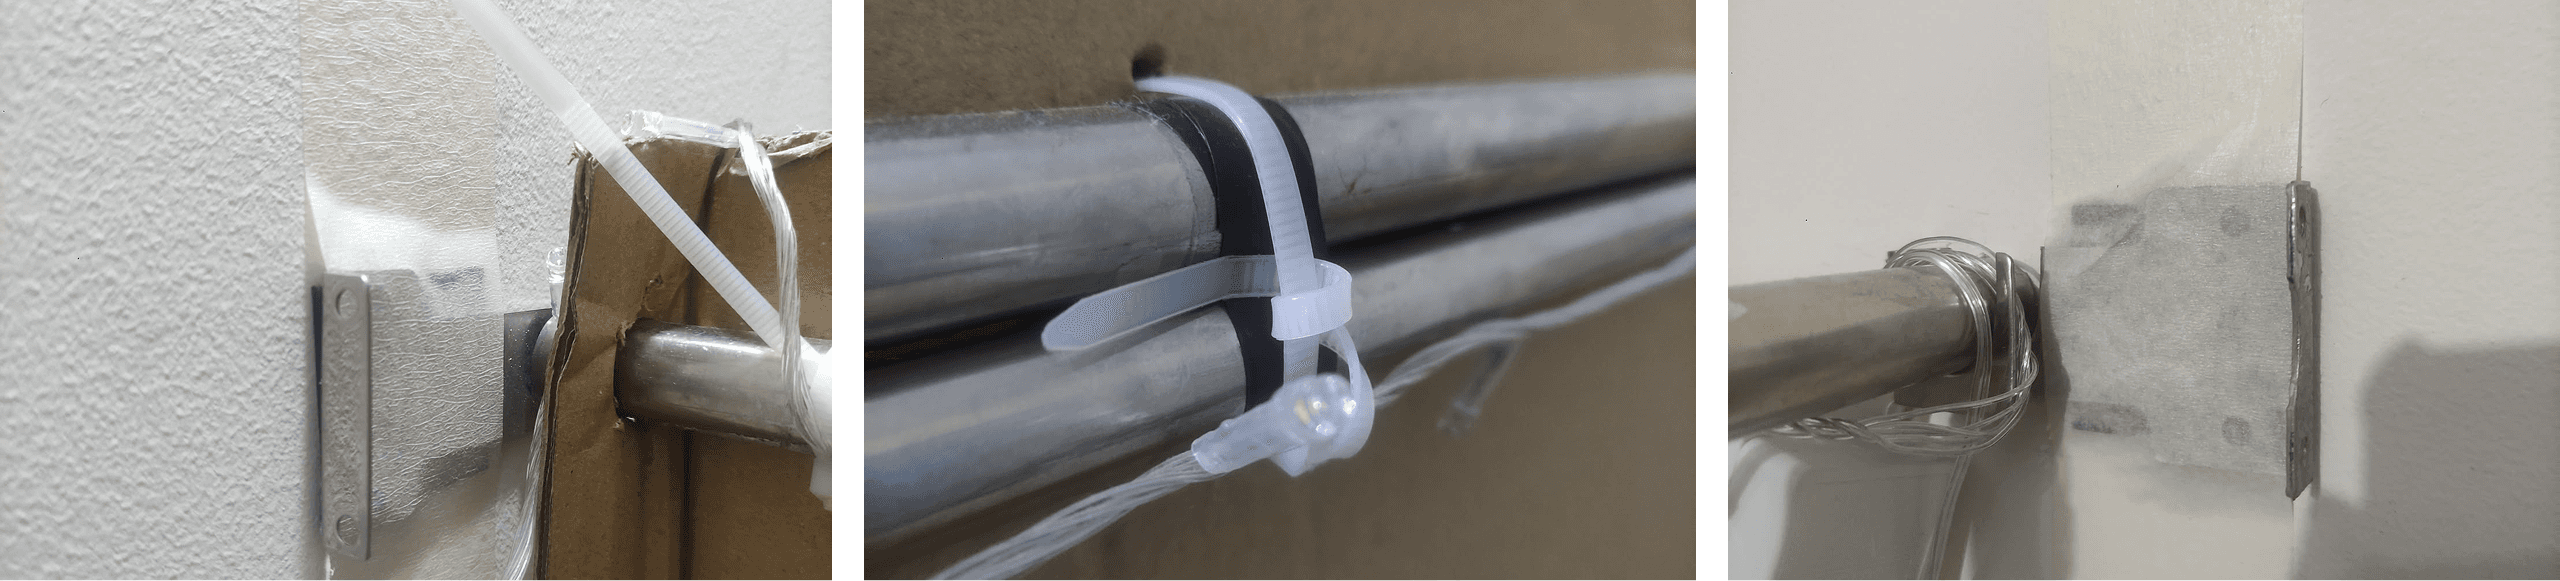
Structural Integrity
My biggest concern was how to make the cardboard stand upright securely without drilling into the walls. I had used double-sided tape on a previous project and the structure collapsed, so I was hesitant. After some ideation, I tried the tape method again but from a different angle. I attached two clamps directly to the wall using heavy double-sided tape and reinforced them with paper tape. It worked perfectly! I then used cable ties to secure the cardboard firmly to the support pipe.
User Feedback & Iteration
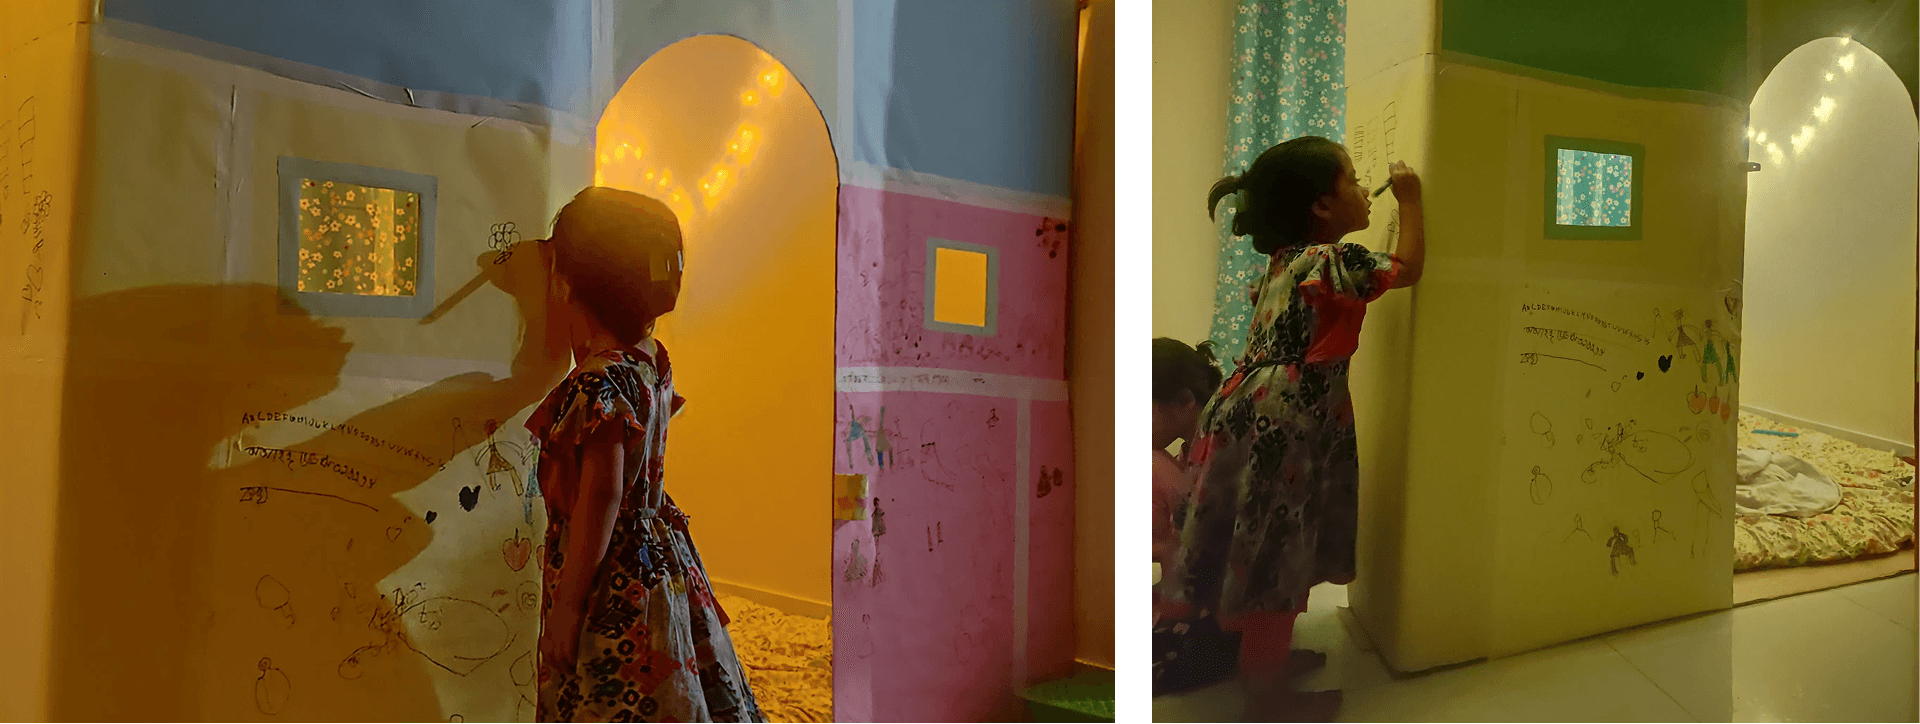
Once the structure was standing, I cut out the main door. Right away, my "user" (Afifa) gave some direct feedback: "Dad, I need two windows!" So, I iterated on the design and cut out two windows for her.
Visual Design (The UI)
Honestly, a giant raw cardboard box sitting in the drawing room looked pretty ugly. I started planning how to color it and decided to test gluing large art paper onto the surface. I bought two sheets from a local stationery shop for 40 Taka to run a trial. It looked great, and then the real "aha!" moment hit me: this art paper naturally turned the wall into a true, open canvas for her. I immediately bought more and covered the whole exterior in different colors.
The Final Touch
To achieve that cozy vibe, I added the fairy lights she loves so much. I strung up warm-colored lights inside the house, and at that moment, the whole setup looked absolutely amazing.
The Final Solution
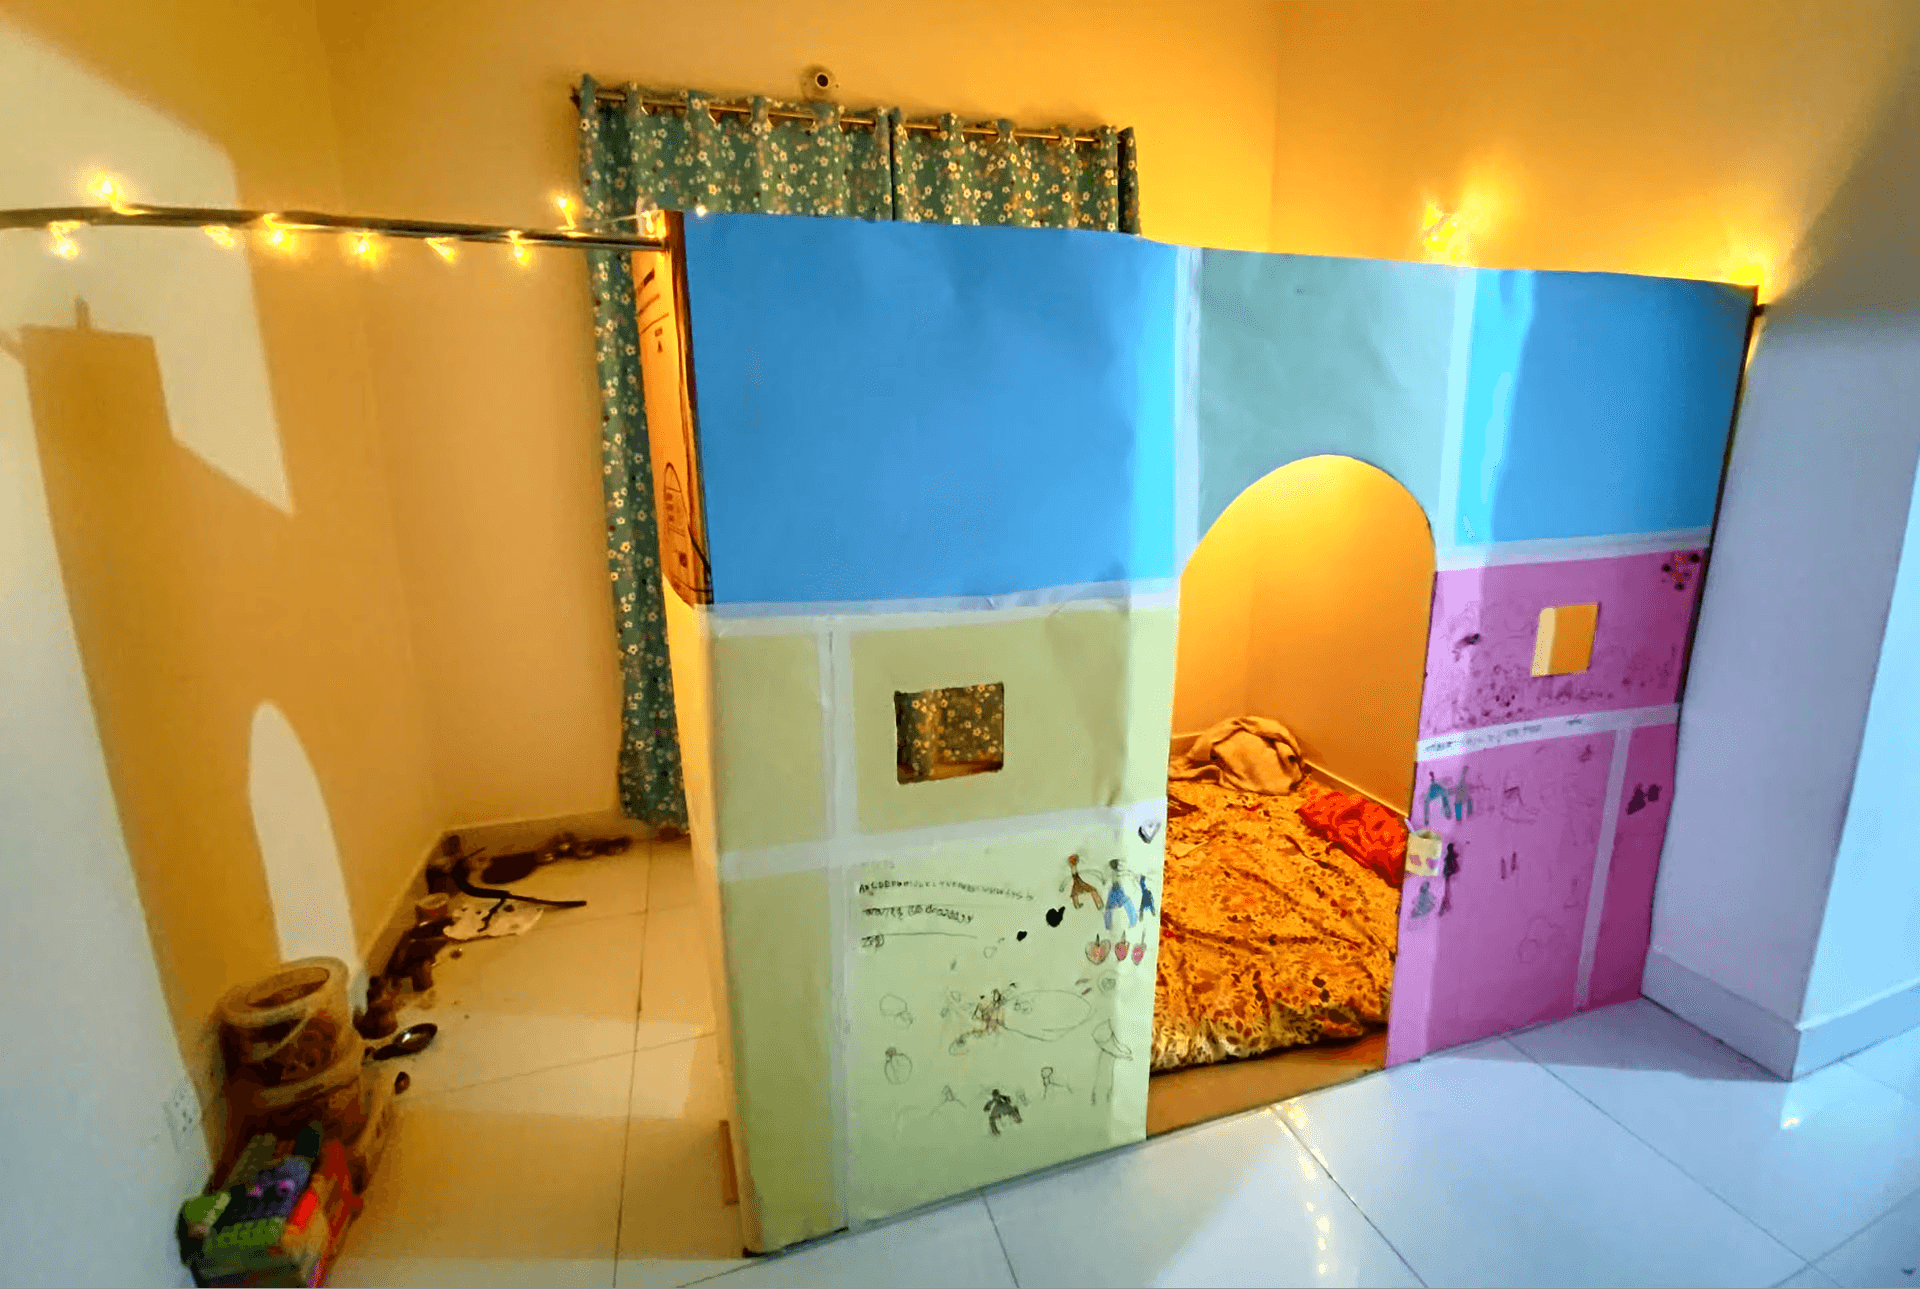
Ambient Lighting
The fairy lights act as a gentle, warm light source, creating a magical feel.
Ergonomics
The soft floor bed makes it comfortable for extended play.
Ventilation & Sightlines
The open arch and side window allow me to keep an eye on her while still giving her a sense of privacy.
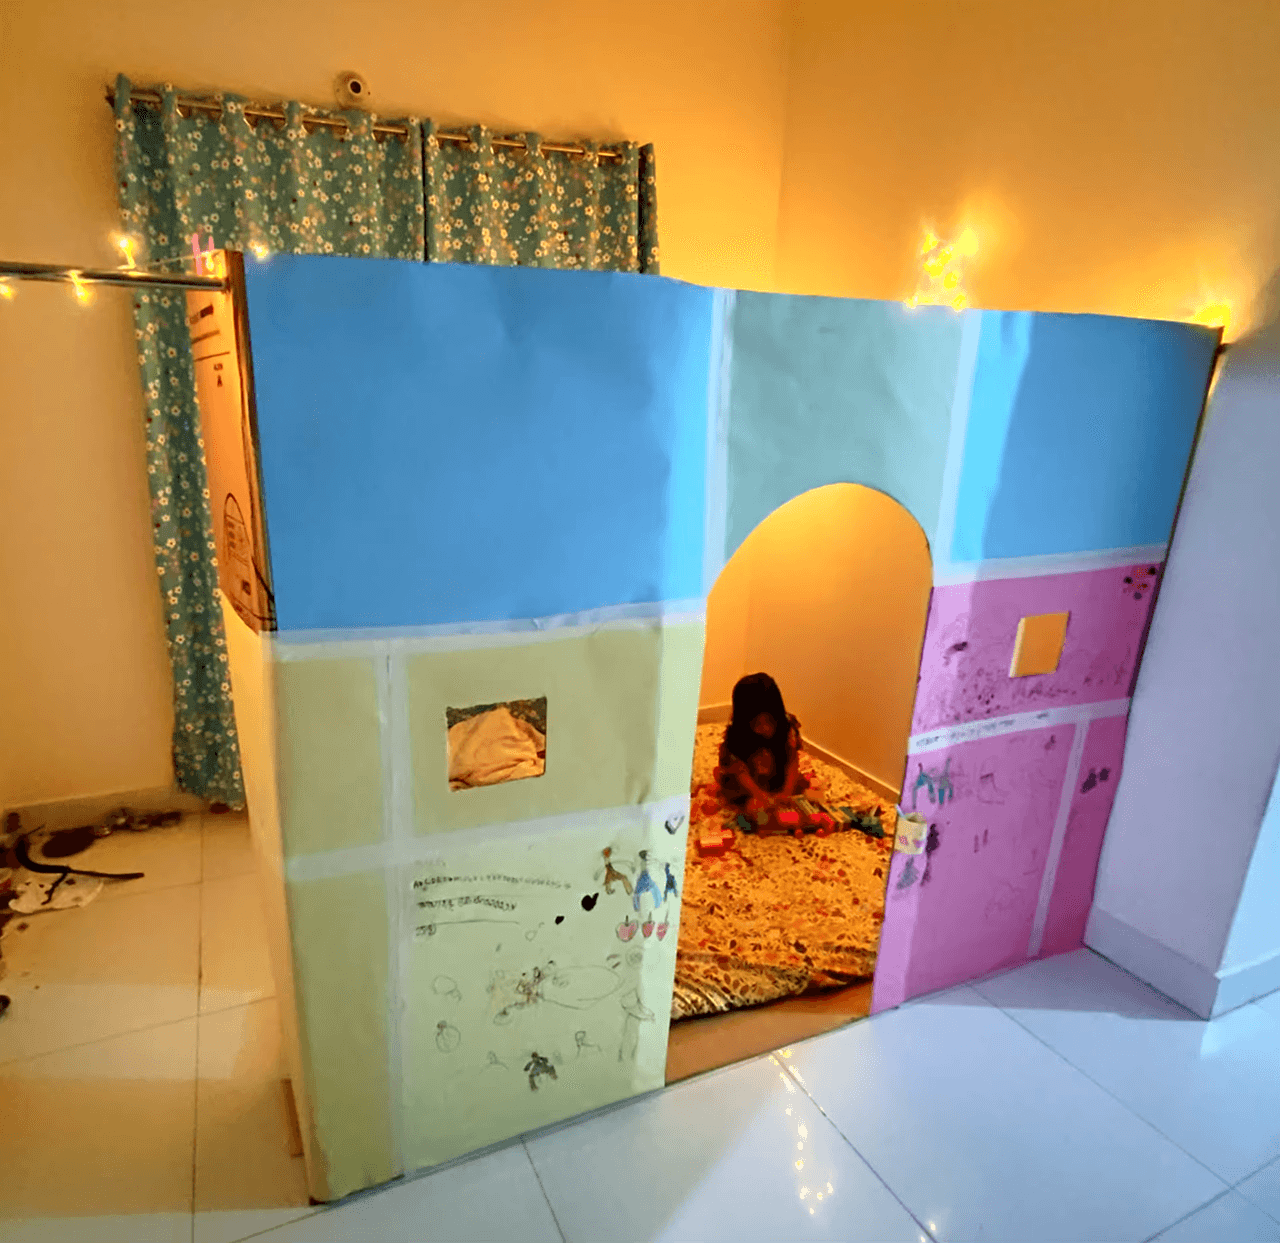
Results & Impact
Immediate Effect
She now runs straight to her “cozy house” and spends time in it like she truly owns the space. Plus, she interrupts me a lot less when I’m focused on deep work in my studio.
Measured Improvement
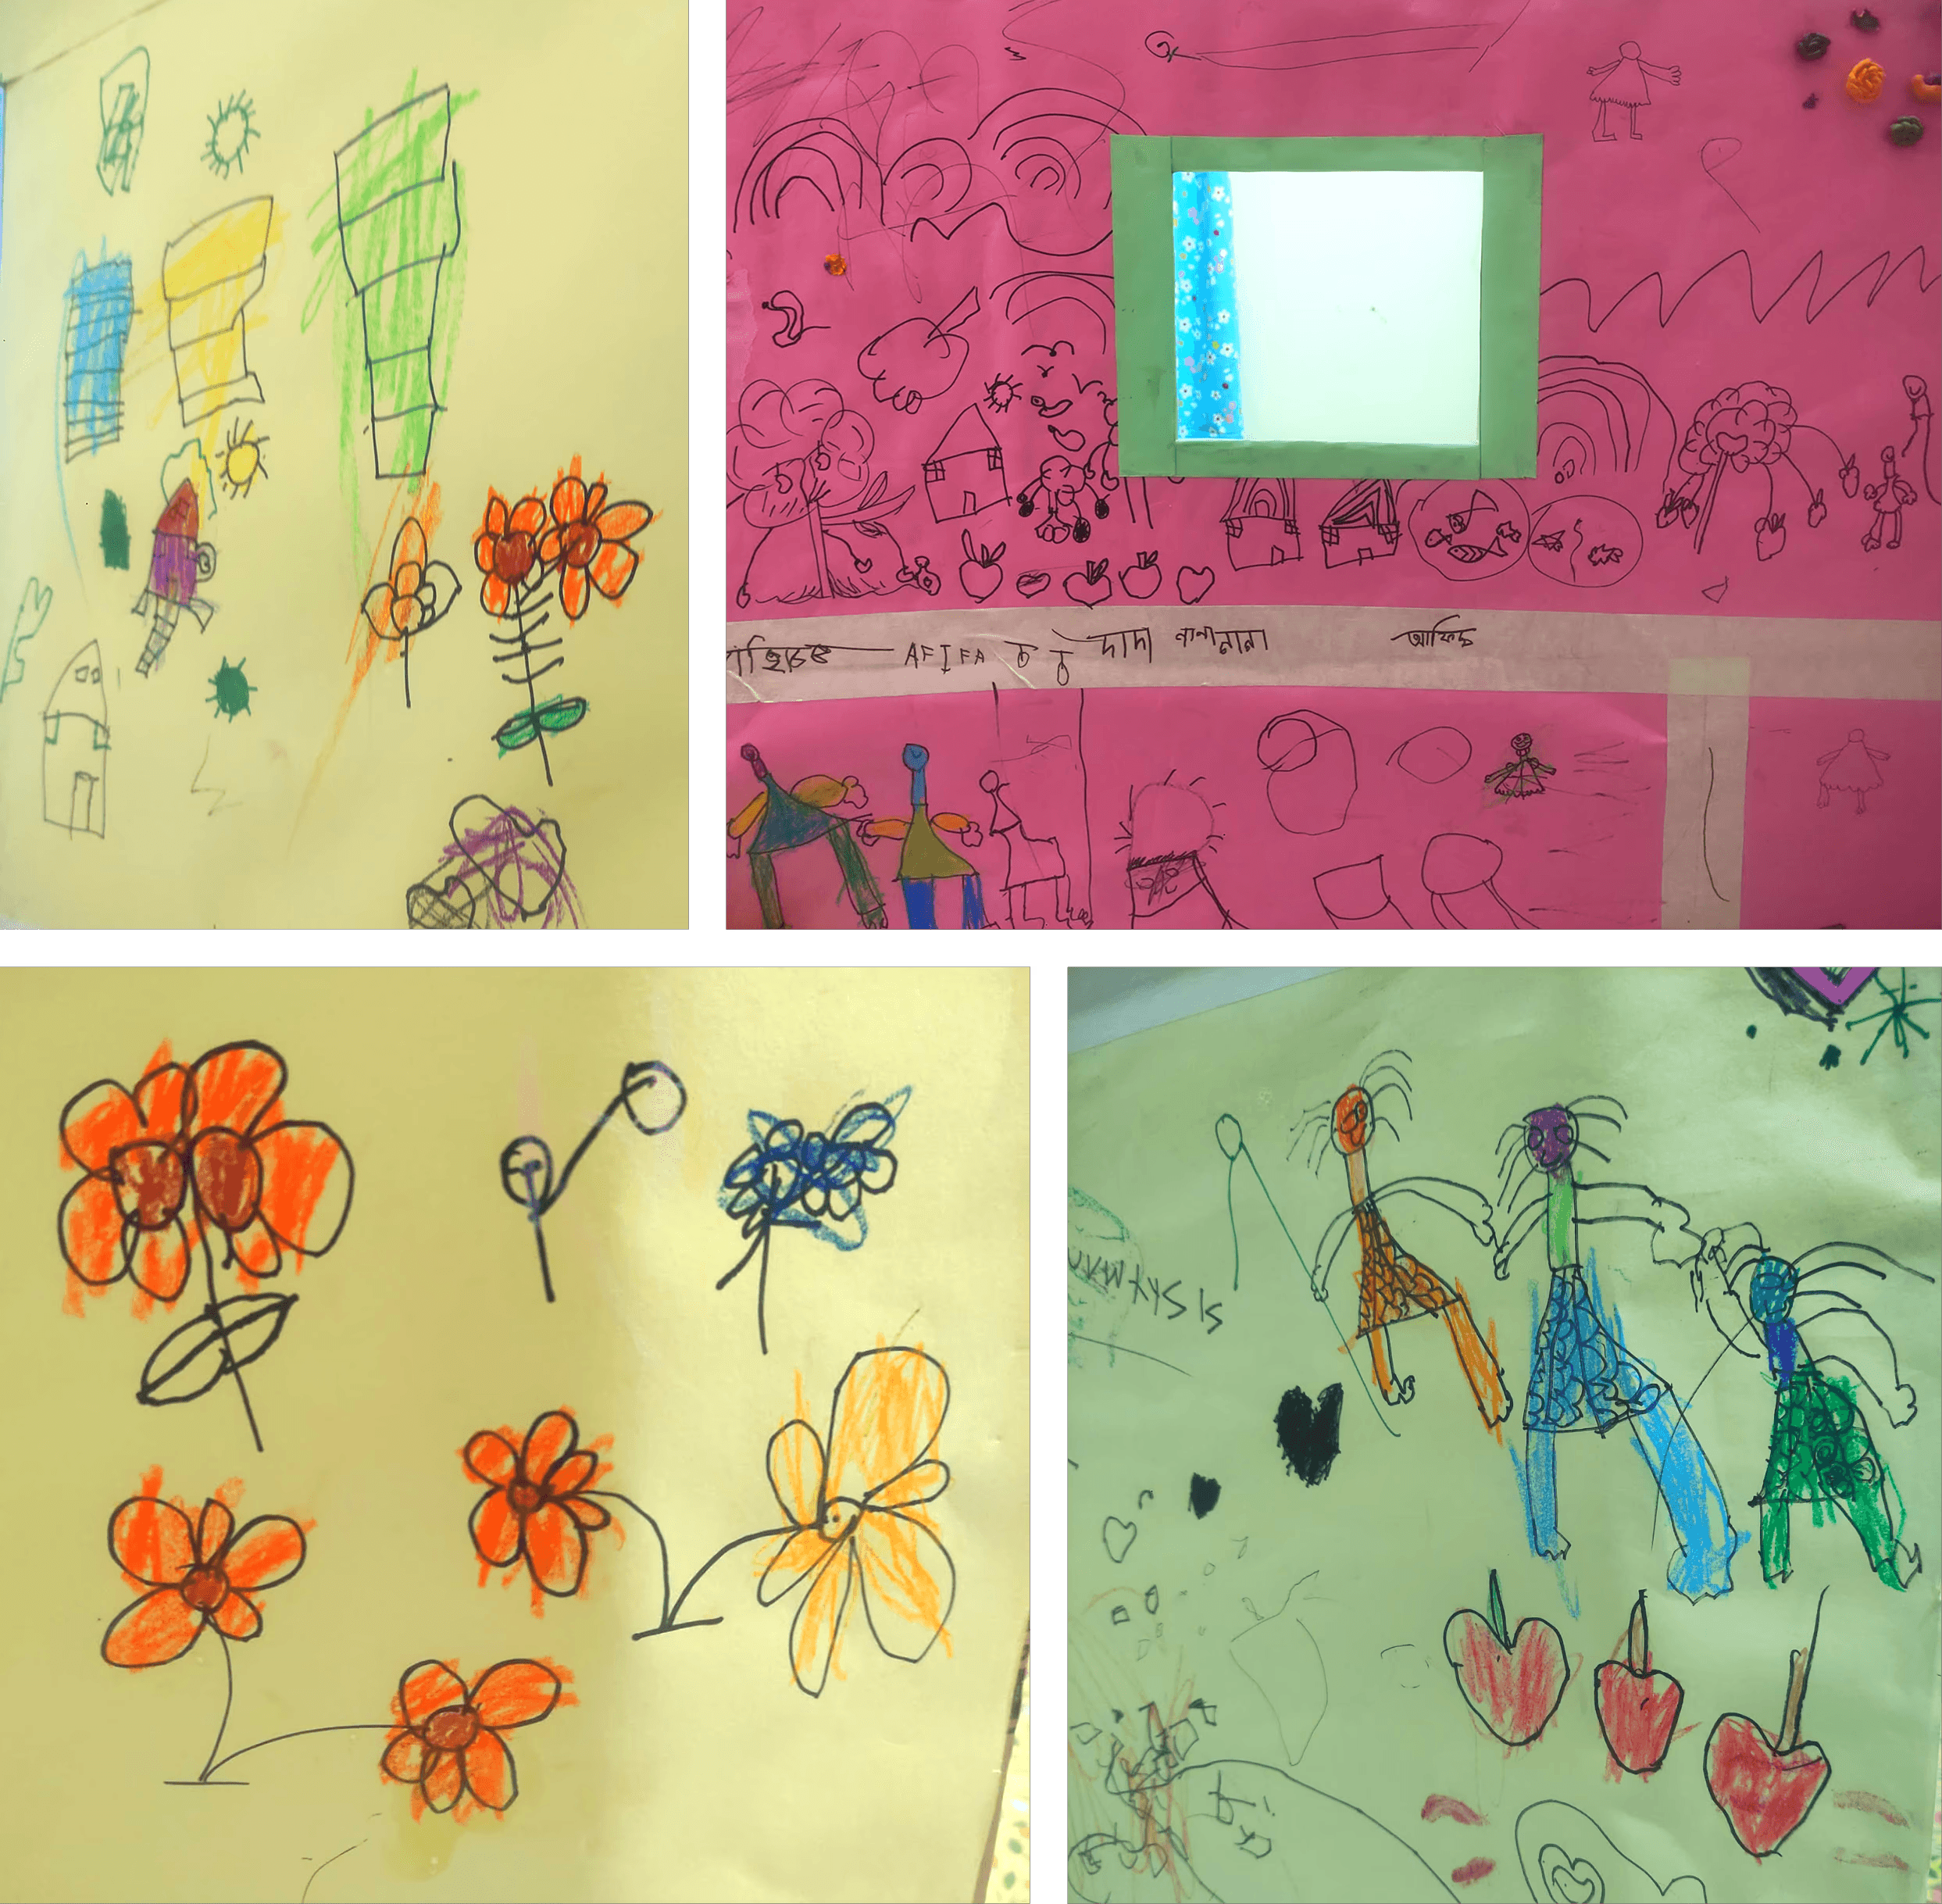
She completely stopped trying to draw on our actual apartment walls because she now has her own infinite drawing board right on the cardboard.
Emotional Win
She draws on her house walls daily and feels a massive sense of ownership. This is now her favorite place in the apartment, and it has become a daily ritual we both love. Here is some new drawing of her.
Key Takeaways & Learnings
[Visual: A nice, clean portrait of you with the house in the background, or a final aesthetic shot of the space.]
This project proved that great design doesn’t stop at the screen. When you ship something real and tangible, the impact is 10x stronger.
Empathy
I realized that a 4-year-old's definition of a "perfect house" values magic, ownership, and a safe space over expensive materials.
Bridging the Gap
This quick physical build helped me flex a completely different set of design muscles, acting as the perfect stepping stone for the custom studio desks and organizers I'll be designing for the new workspace next year.